Setting up Icy Box IB-RD3620SU3 external (USB3/eSATA) RAID system
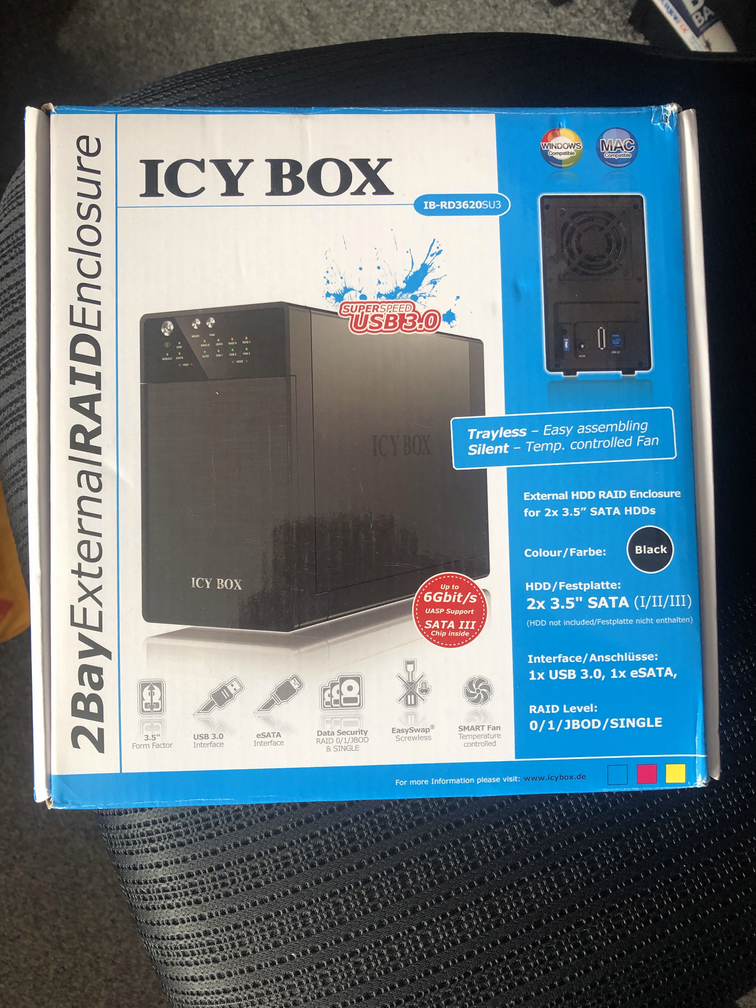
During the week, I have decided to replace the old HP Microservers I bought during 2020 with 5 HP EliteDesk 800 G2 minis mirroring the Lenovo M72e cluster I bought at in February of 2022 to build a home-lab, but admittedly still have not finished setting up. As the micro-server has 4 3.5” drive bays, in which my backup disks are currently housed, moving to a ultra small form factor with no drive bays presents a challenge. I found the Icy Bay IB-RD3620SU3 online which allows me to connect the drives via USB 3 or eSATA. It also does RAID internally, offloading it from the host system and reducing the amount of data that needs to be sent over the USB/eSATA connection (c.f. software-raid on the host).
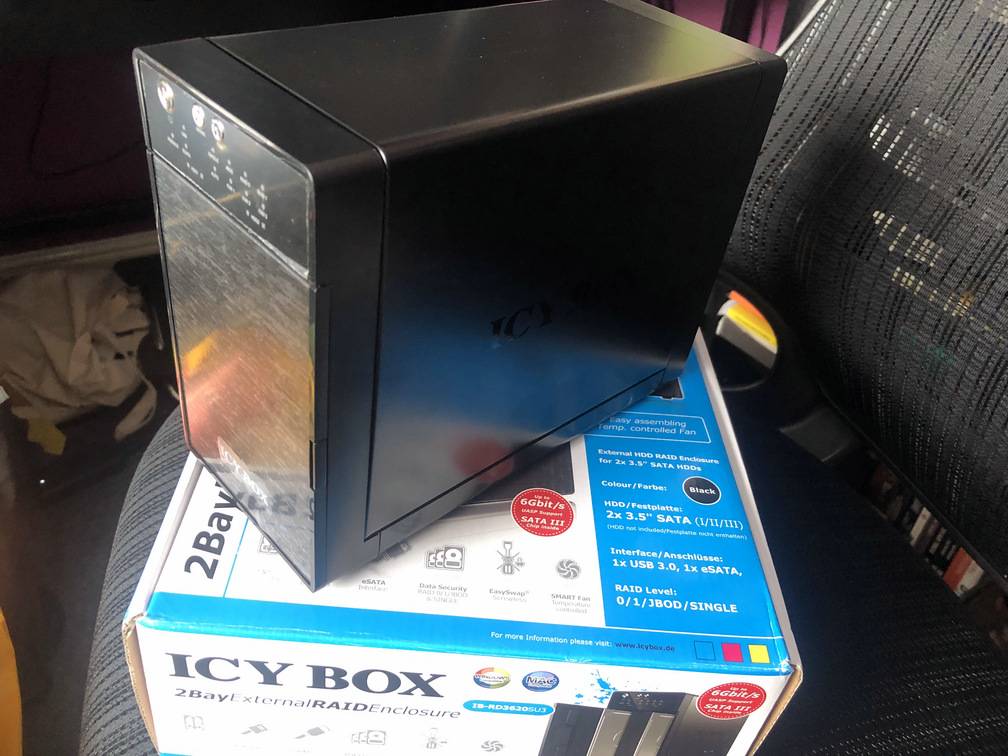
I was a little disappointed in the condition that the box arrived in from SCAN. I bought the item from them as they were one of the cheapest and the cheapest of the places I’ve shopped with before but the box, which arrived wrapped in bubble wrap and a plastic shipping bag, has numerous dents and dings and, despite being sold as new, had clearly been previously opened (the “quality seal” was broken and the bags inside unsealed).
Products arriving in poor/damaged condition has become a recurrent theme for me with SCAN, I think I am going to have to stop buying from them - I previously had a brand-new hard-disk delivered, wrapped only in a anti-static bag, bubble wrap and shipping bag (no clam-shell, or cardboard, container to protect the disk) delivered with a dent on its corner. Unsurprisingly that disk was dead-on-arrival and had to be returned. That all said, this product did not show signs of use and appeared to have everything needed present so it was most likely a return from a previous customer under distance selling rules and fit to be resold as new. Despite the damage to the cardboard box, it has done its job and protected the contents.
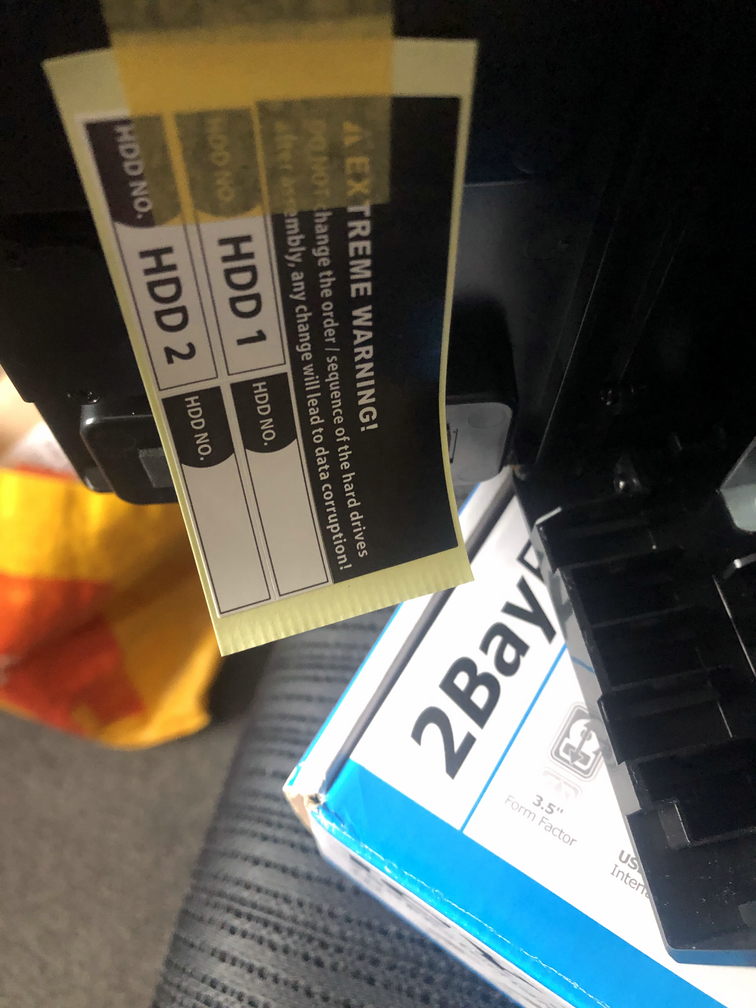
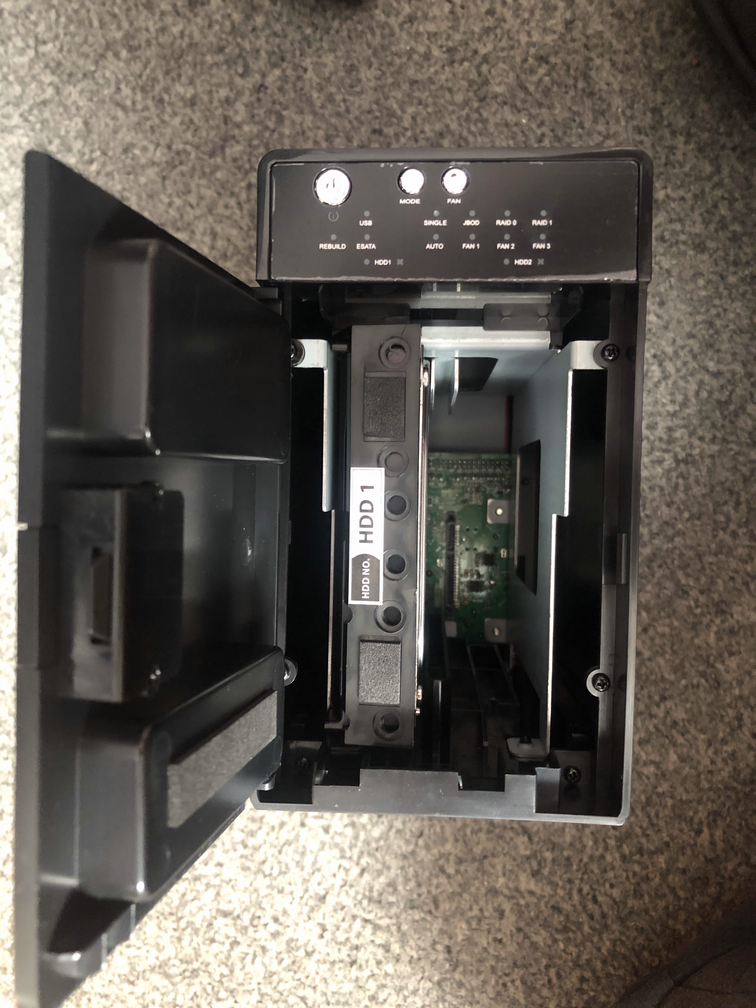
The enclosure comes with some helpful labels for the disk and a slightly scary warning not to change the order of the disks - made more scary by the manual telling the user they might need to swap the disks in the event of a failure, depending on which disk fails (it seems that it always resyncs RAID from the disk in the 2 position to that in the 1 so if disk 2 fails, disk 1 must first be swapped into the disk 2 position and the replacement installed as disk 1).
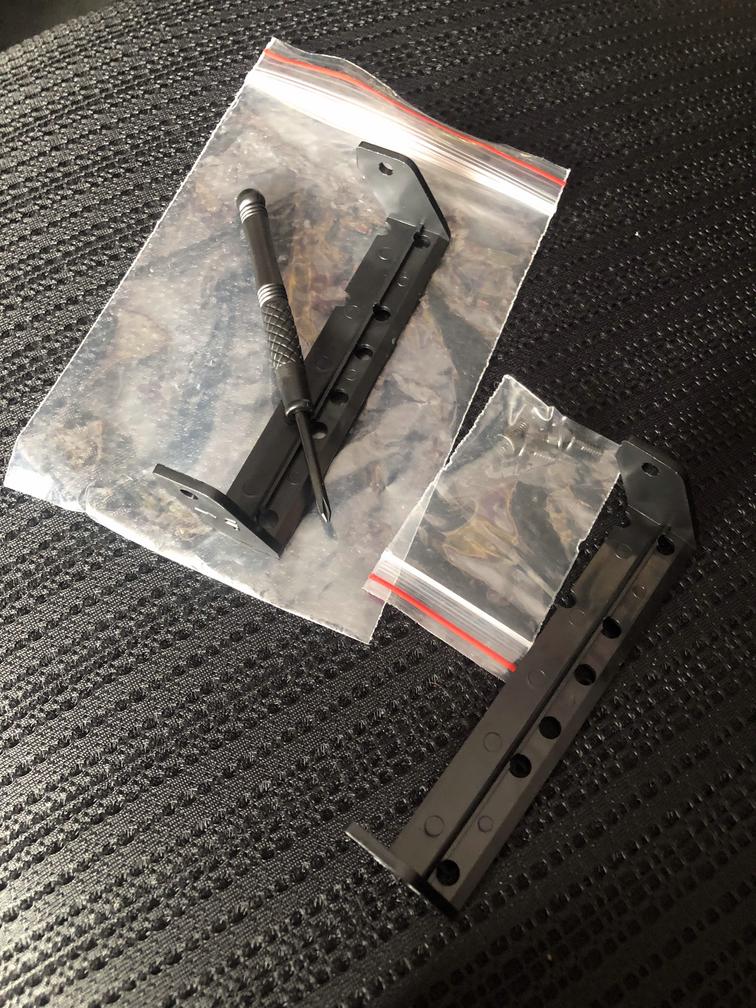
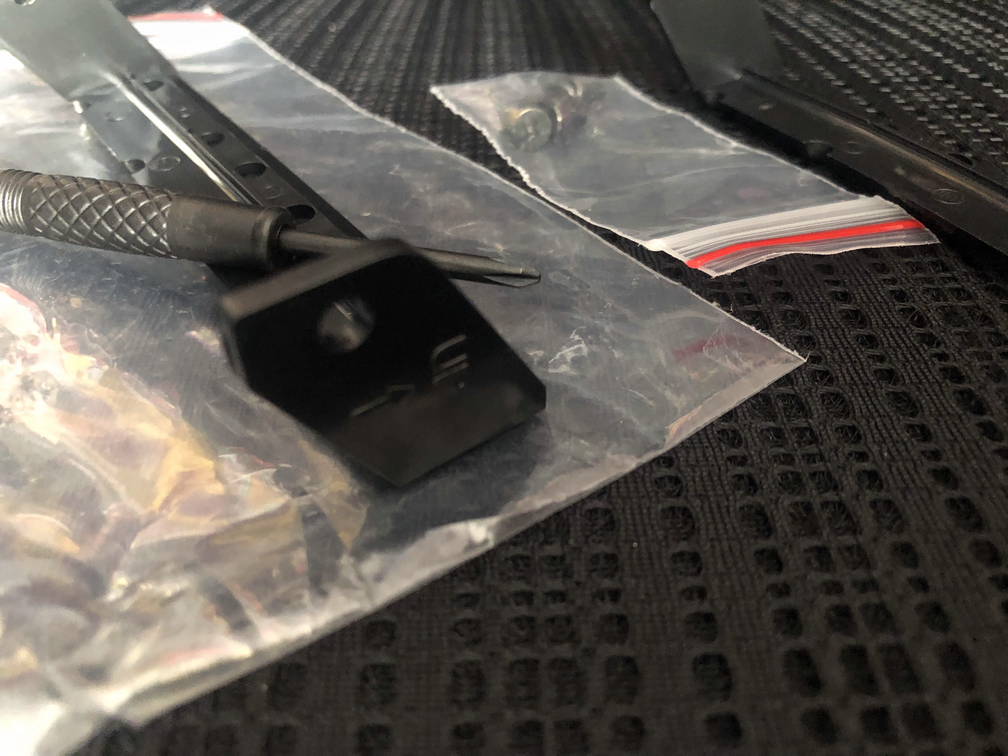
It also comes with two “handles”, screws and a mini screw-driver with which to attach them to the hard disks. I think this is just as much effort as a tray would have been, so they do cause me to question the “Trayless - easy assembly” claim on the box and marketing materials for the enclosure.
After powering off my existing system, I pulled one of the RAID disks out (this was to protect it, in case I made an error) and booted it back up, I fired up gdisk and used it to wipe the partition table (x for ‘extra functionality (experts only)’ then z for ‘zap (destroy) GPT data structures and exit’) of the remaining RAID disk.
I then powered off the system, removed the drive I had just zapped and replaced the disk I took out earlier. The zapped drive, I installed in the Icy Box enclosure. I attached the drive label to the “handle”, to make it easy to deal with replacement drives in the future (label stays with the handle if swapped to another disk).
Once the disk was installed, I placed it alongside my incumbent server to set it up and powered it on for the first time.
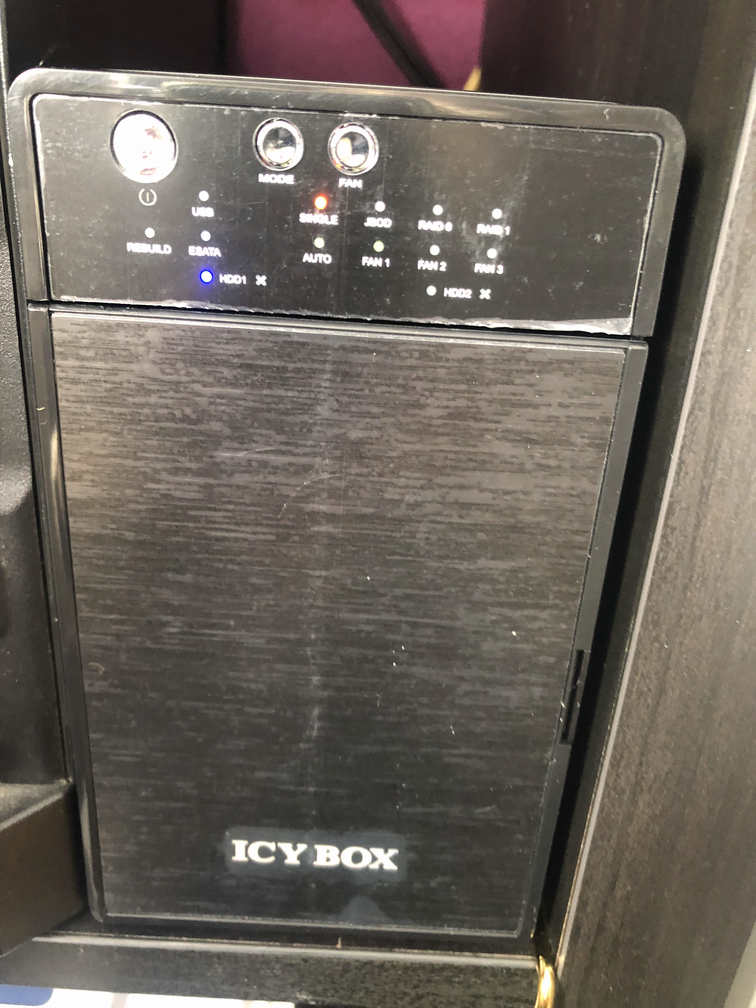
I then changed the Icy Box enclosure to Raid 1 mode. This is done by pushing and holding the mode button until the light flashes, pressing mode until the Raid 1 setting is selected and then pressing and holding the “confirm” button (which is unlabelled, behind a small cover on the rear of the enclosure) until the system turns itself off.
Once in Raid 1 mode, I attached it via USB 3 to the server and powered the server back on. The system will have the degraded raid volume marked inactive, which also has the knock-on effect of not starting the VM that uses it (a good thing, in this case).
This is the point I discovered the enclosure does not appear to start if it is in Raid 1 mode and only has one disk - or more precisely, it appears in the OS (with the capacity of the one installed drive) then disappears after about 15 seconds. I initially thought it was a problem with the device’s built-in power synchronisation (which is supposed to put it to sleep 15s after the host goes to sleep) but this behaviour continued even after turning off that feature.
To get around this, I decided to clone the existing RAID array (in its now degraded state), migrate the 2nd disk to the enclosure and restore. I began by creating a new temporary volume backup-temp on my NAS (which barely had enough free space for this) and mounted it using NFS:
apt install nfs-client
mount -t nfs isolinear:/data/backup-temp /mnt
(Note the path exported wasn’t obvious or visible in the ReadyNas UI - I had to run showmount -e isolinear to find it.)
I then started the RAID array (note it will start it read-only, but that’s fine for cloning) and made an image of it with pv:
mdadm --manage /dev/md125 --run
apt install pv
pv -tpreb /dev/md125 >/mnt/backup-disk.img
Once this was complete, I stopped the array again with mdadm --manage /dev/md125 --stop, used gdisk to wipe the other RAID disk and powered off the system. I removed the disk and installed it into the enclosure.
After powering on the enclosure, it exhibited the same “appear for a few seconds than turn the disks off and disappear from the OS” behaviour. I found a page that has some insight, which has disappeared from its original source but at the time or writing was still in Bing’s cache:
To check if there is any connection made, please do the following while both HDDs are installed:
- Set the Sync mode to Off
- Set the RAID Mode to Single
- After selecting the RAID mode, press and hold the confirmation button at the rear panel until the device shuts down.
- Switch the RD3620SU3 on and check if there is any change in the disk manager
Setting it back to single and confirming caused both disks to appear in the OS and remain there. Setting it back to Raid 1 at this stage and it seemed to work (it did not attempt a rebuild, so I presume it does “RAID” via some sort of copy-on-write mechanism). I set the power synchronisation back to enabled, so it will automatically go into standby when the attached host is turned off.
Next, I partitioned the RAID (logical) disk that the enclosure presents (lsblk is your friend here!) to the OS using parted according to how I partitioned these disks originally:
$ sudo parted /dev/sdc
GNU Parted 3.4
Using /dev/sdc
Welcome to GNU Parted! Type 'help' to view a list of commands.
(parted) mklabel gpt
(parted) mkpart
Partition name?  []? backup-raid
File system type?  [ext2]? ext4
Start? 0%
End? 4.5T
(parted) print
Model: H/W RAID 1 (scsi)
Disk /dev/sdc: 8002GB
Sector size (logical/physical): 512B/512B
Partition Table: gpt
Disk Flags:

Number  Start   End     Size    File system  Name         Flags
 1      33.6MB  4500GB  4500GB  ext4         backup-raid
(parted) quit
Information: You may need to update /etc/fstab.
I re-mounted the NFS share (read-only to ensure I didn’t accidentally damage the image) and restored the image to the USB disk:
mount -t nfs -o ro isolinear:/data/backup-temp /mnt
pv -tpreb /mnt/backup-disk.img > /dev/disk/by-partlabel/backup-raid
To pass the new disk through to the virtual machine, in place of the old one, I opened up virsh and edited the domain’s XML by running edit starfleet-archives. In the XML file, I replaced the existing:
<source dev='/dev/md/backup-raid'/>
with
<source dev='/dev/disk/by-partlabel/backup-raid'/>
Because the VM’s device did not change, just the source, no changes were needed within the VM.
When I was happy the restore had completed and was working, I remounted the NFS share read/write and removed the image before deleting the share entirely from the NAS:
mount -o remount,rw /mnt
rm /mnt/backup-disk.img